Deploying on Cloud
You can host your own instance of Zasper on a server and use it from anywhere. This guide covers signing in, making the server reachable, keeping the access token across restarts, putting it behind HTTPS, Docker, and running it as a service.
Zasper gives whoever signs in your project files and a terminal. Every Zasper server requires an access token to sign in, so treat that token, and any link that carries it, like a password.
Signing In
Zasper always runs in protected mode: every route except the health check needs a session, and a session comes from the access token that Zasper prints when it starts:
==========================================================
     ███████╗ █████╗ ███████╗██████╗ ███████╗██████╗
     ╚══███╔╝██╔══██╗██╔════╝██╔══██╗██╔════╝██╔══██╗
       ███╔╝ ███████║███████╗██████╔╝█████╗  ██████╔╝
      ███╔╝  ██╔══██║╚════██║██╔═══╝ ██╔══╝  ██╔══██╗
     ███████╗██║  ██║███████║██║     ███████╗██║  ██║
     ╚══════╝╚═╝  ╚═╝╚══════╝╚═╝     ╚══════╝╚═╝  ╚═╝

                    Zasper Server
                Version: 1.1.0
----------------------------------------------------------
 ✅ Server started successfully!
 📡 Bound to:            127.0.0.1:8048
 🖥️  Webapp available at: http://127.0.0.1:8048
 🔐 Server Access Token: 14be1b674a3b9196a82c01129028d0dd
 🔗 Sign in with:        http://127.0.0.1:8048/?token=14be1b674a3b9196a82c01129028d0dd
 📊 Anonymous usage data: on  (--tracking=false to turn off)
                          see PRIVACY.md for what is sent
==========================================================
On your own machine there is nothing to do: Zasper opens the Sign in with link in your browser, so you arrive already signed in. Anywhere else, sign in one of two ways:
- With the link. Open the Sign in with link from the banner. It signs you in straight away, and the page removes the token from the address bar as soon as it has used it.
- With the token. Open Zasper in a browser, which takes you to the sign-in page, and paste the Server Access Token there.
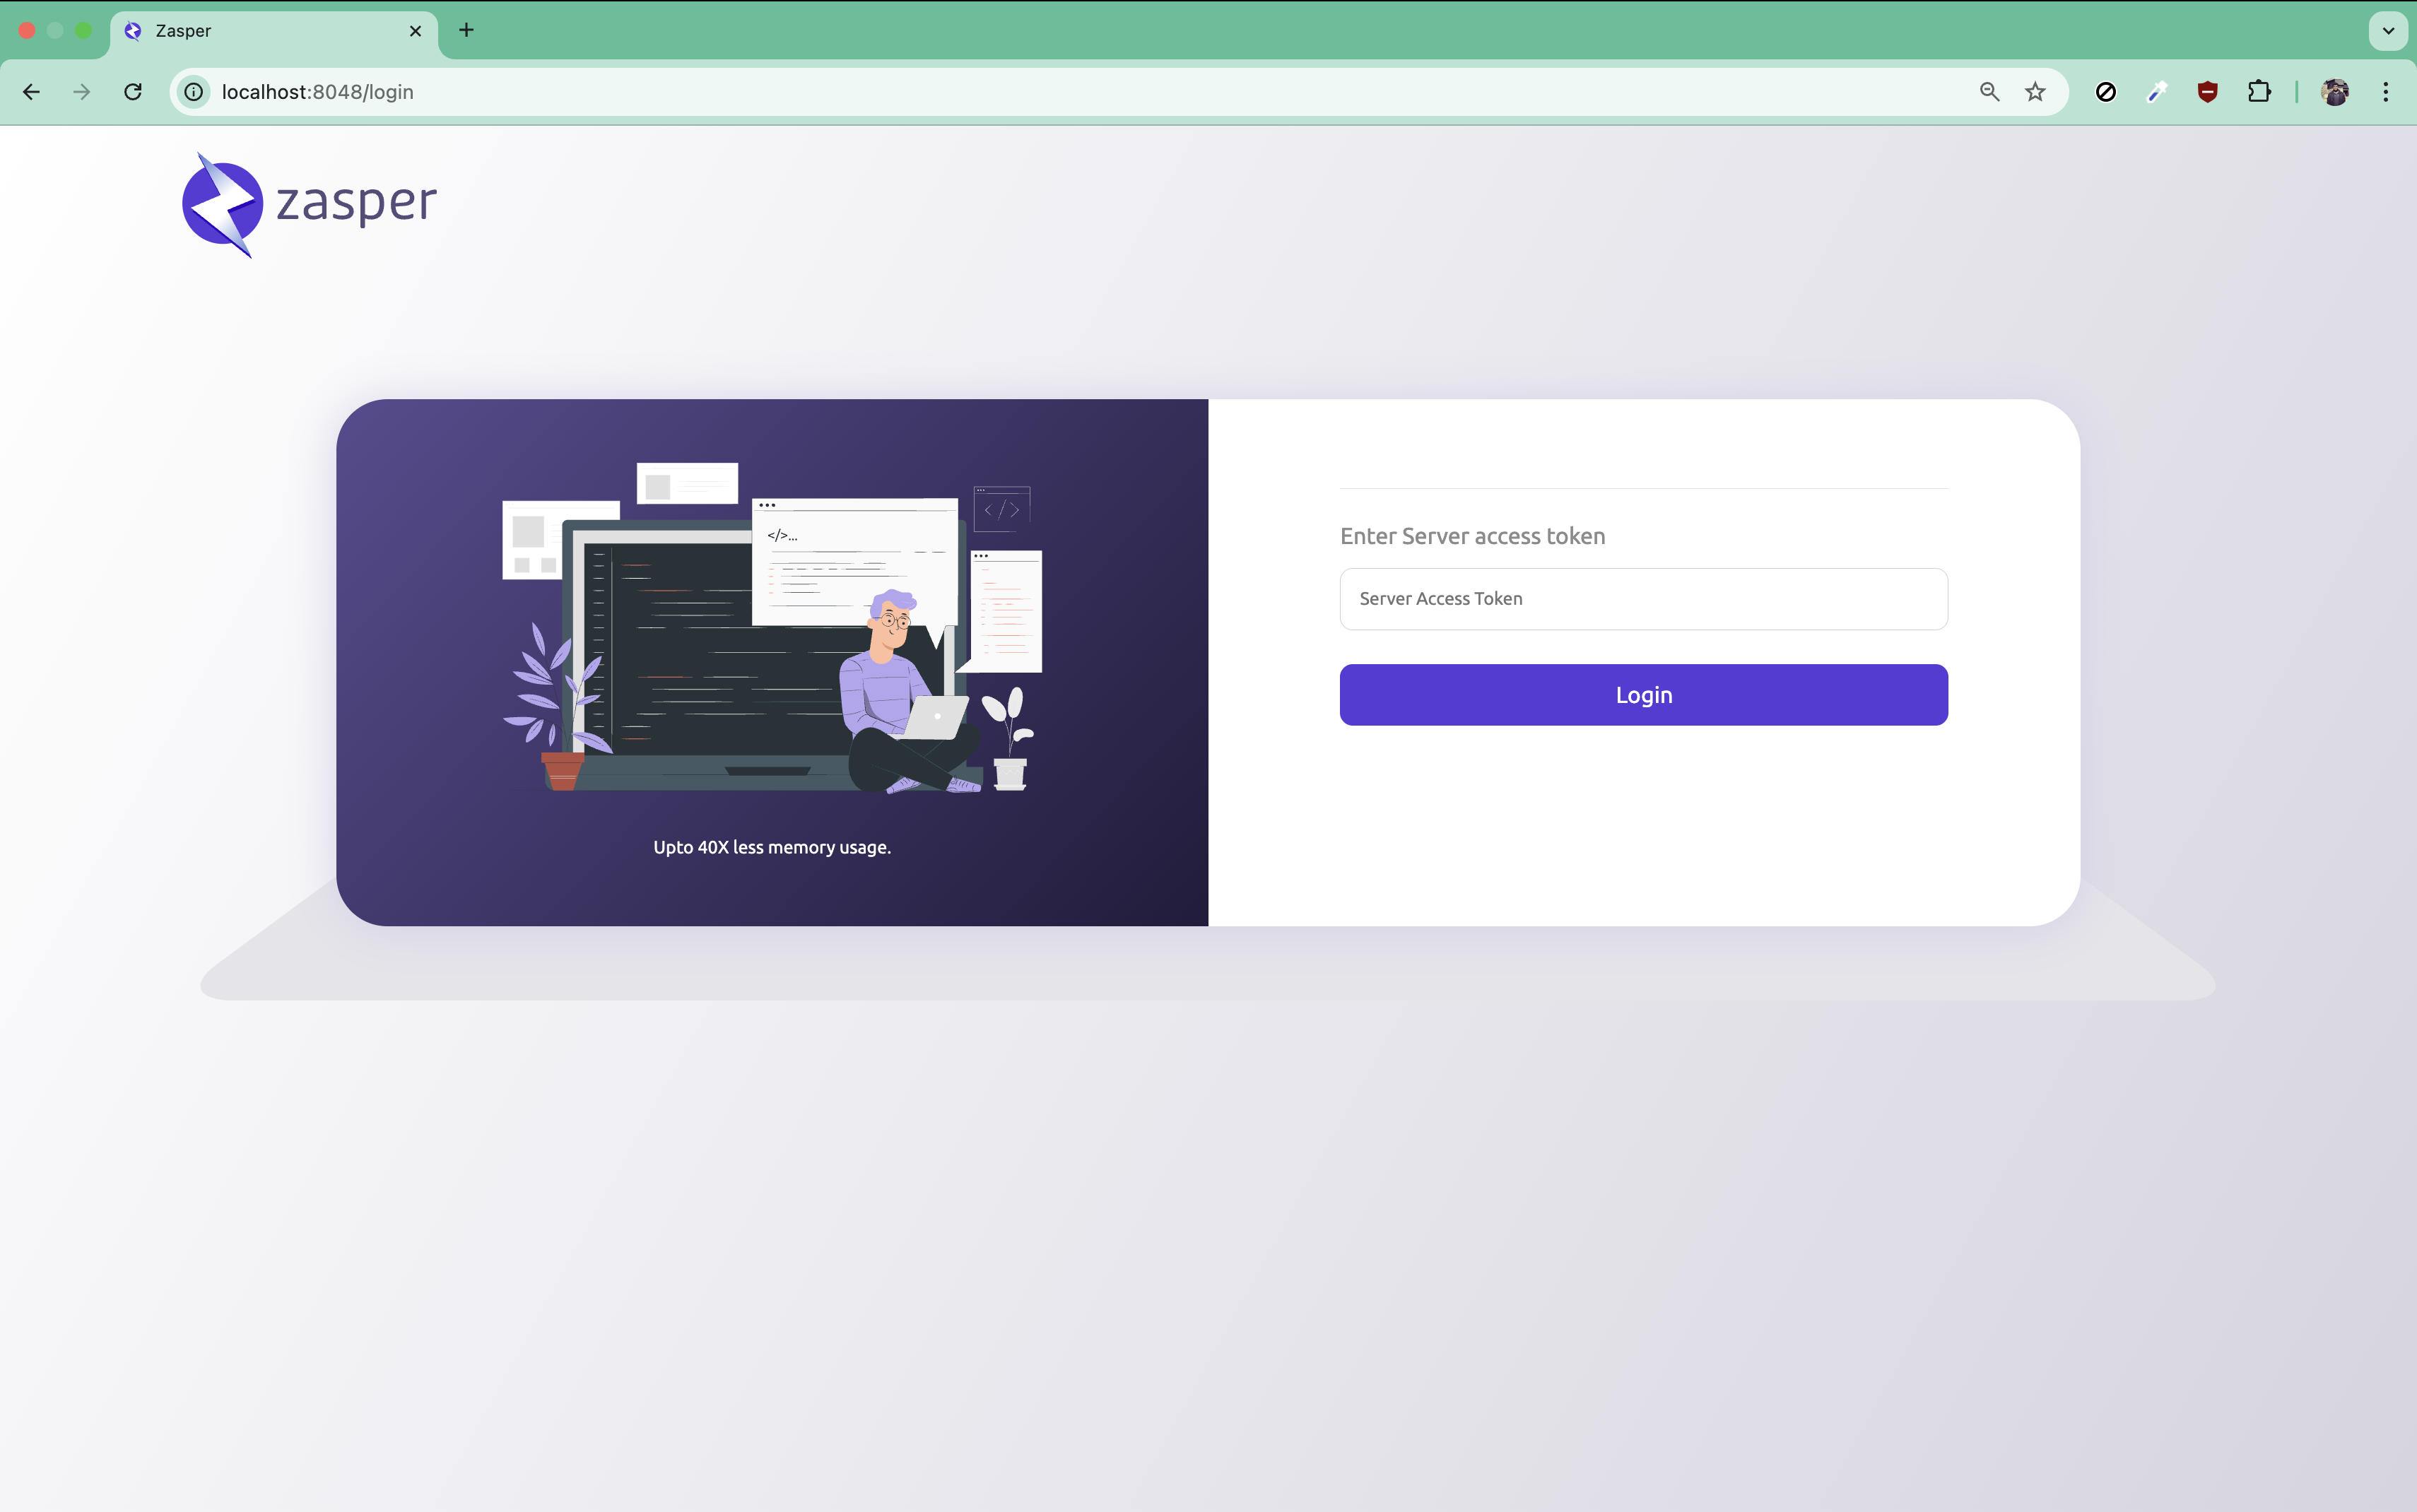
A session lasts 24 hours, after which you sign in again.
Before 1.1.0, authentication was off unless you passed --protected=true. That flag is no longer
needed. Zasper still accepts it, so existing scripts keep starting, but --protected=false is
ignored.
Reaching It from Another Machine
By default Zasper listens only on 127.0.0.1, so nothing else can connect to it. Use --host to
open it up:
zasper --host=0.0.0.0 --no-browser
--no-browser keeps Zasper from opening a browser on the server itself. The banner then shows the
wider binding:
 📡 Bound to:            0.0.0.0:8048
 🖥️  Webapp available at: http://localhost:8048
 🔐 Server Access Token: 14be1b674a3b9196a82c01129028d0dd
 🔗 Sign in with:        http://localhost:8048/?token=14be1b674a3b9196a82c01129028d0dd
The banner’s links say localhost because they are written for a browser on the server. From
another machine, replace localhost with the server’s hostname or IP address, for example
http://my-server:8048/?token=….
Keeping the Token Across Restarts
Zasper generates a new access token every time it starts, and signs sessions with a key derived from that token. So by default a restart both changes the token and signs everyone out. To keep signed-in browsers signed in, and to keep a link you have handed out working, set the token yourself:
openssl rand -hex 32                          # once; keep the output somewhere safe
export ZASPER_ACCESS_TOKEN=paste-that-value-here
zasper --host=0.0.0.0 --no-browser
There is nothing else to configure. While the token stays the same, sessions survive restarts; changing it signs everyone out.
ZASPER_JWT_SECRET, which did this job before 1.1.0, has been removed and is ignored. If you set
it, set ZASPER_ACCESS_TOKEN instead.
Finding the Token in Logs
When Zasper’s output isn’t a terminal, such as under Docker or systemd, or piped to a file, it logs a
single JSON line instead of the banner, and doesn’t try to open a browser. The access token is that
line’s access_token field, and the line’s message is zasper server started. Set
ZASPER_LOG_FORMAT=console to get the banner back.
Behind a Reverse Proxy with HTTPS
For anything beyond your own network, put Zasper behind a reverse proxy that handles HTTPS. If the
proxy runs on the same machine, leave Zasper on the default 127.0.0.1, because only the proxy
needs to reach it. The sign-in link then goes through the proxy:
https://zasper.example.com/?token=….
Terminals, kernels and file watching use WebSockets, so the proxy has to pass WebSocket upgrades
through. It also has to forward the original Host header: Zasper refuses a WebSocket connection
when the browser’s Origin doesn’t match the Host it receives.
With Caddy, which does both by default and gets the certificate for you:
zasper.example.com {
    reverse_proxy 127.0.0.1:8048
}
With nginx:
server {
    listen 443 ssl;
    server_name zasper.example.com;
    # ssl_certificate and ssl_certificate_key go here

    location / {
        proxy_pass http://127.0.0.1:8048;
        proxy_http_version 1.1;
        proxy_set_header Host $host;
        proxy_set_header Upgrade $http_upgrade;
        proxy_set_header Connection "upgrade";
        proxy_read_timeout 1d;
    }
}
proxy_read_timeout keeps a quiet terminal or kernel connection from being closed after nginx’s
default 60 seconds.
Running It in Docker
The docker/ directory in the main
repository builds an image from that checkout. The image installs Jupyter and runs Zasper as a
non-root zasper user:
git clone https://github.com/zasper-io/zasper
cd zasper/docker
docker compose up -d --build
The Compose file opens the project in docker/workspace, and publishes port 8048 on 127.0.0.1
only. Inside the container Zasper listens on 0.0.0.0, because that’s the only way to reach it
through Docker’s port mapping. To make it reachable from other machines, change the port mapping in
docker-compose.yml. To keep the same token when the container restarts, set it there too:
services:
  zasper:
    ports:
      - "8048:8048"
    environment:
      ZASPER_ACCESS_TOKEN: replace-with-a-long-random-string
The access token is in the container’s startup log line:
docker compose logs zasper | grep access_token
Without Compose, build from the repository root:
docker build -f docker/Dockerfile -t zasper .
docker run -d -p 127.0.0.1:8048:8048 -v "$PWD/workspace:/home/zasper" zasper
Add -e ZASPER_ACCESS_TOKEN=... to docker run to fix the token.
Running It as a Service
On Linux, systemd can start Zasper at boot and restart it if it stops. Save this as
/etc/systemd/system/zasper.service, adjusting the user, folder and binary path:
[Unit]
Description=Zasper
After=network.target

[Service]
User=zasper
WorkingDirectory=/home/zasper/notebooks
EnvironmentFile=/etc/zasper.env
ExecStart=/usr/local/bin/zasper
Restart=on-failure

[Install]
WantedBy=multi-user.target
Put ZASPER_ACCESS_TOKEN=... in /etc/zasper.env and make that file readable only by root. Then:
sudo systemctl enable --now zasper
journalctl -u zasper
Zasper finds the kernels that the service’s user has installed. Under systemd, logs are written as
JSON, so the token is in the startup line’s access_token field; Configuration
explains how to change the format.
Tips
- Treat the access token, and any
?token=link, like a password. - Update Zasper regularly to get security fixes.
- Only open notebooks you trust. Zasper does not yet sign or trust notebooks, so saved HTML output can run scripts when a notebook is opened; see Notebook Support.
